The baking tray came out of the oven with that tell-tale smell: halfway between caramel and burnt toast. At first glance it looked fine. Then the roasted vegetables were gone, the tray hit the sink, and the truth appeared under the kitchen light: black crust welded to metal, brown streaks along the edges, greasy shadows that laughed at the sponge. The kind of tray you “leave to soak” and then quietly shove to the back of the cupboard for later. Much later.
An hour and three sore fingers later, the burnt patch was still there. That was the night a friend pulled out two basic pantry staples, mixed them into a grainy paste, and casually brought that tray back from the dead.
It looked like a small magic trick hiding inside a cereal bowl.
The quiet horror of the burnt baking tray
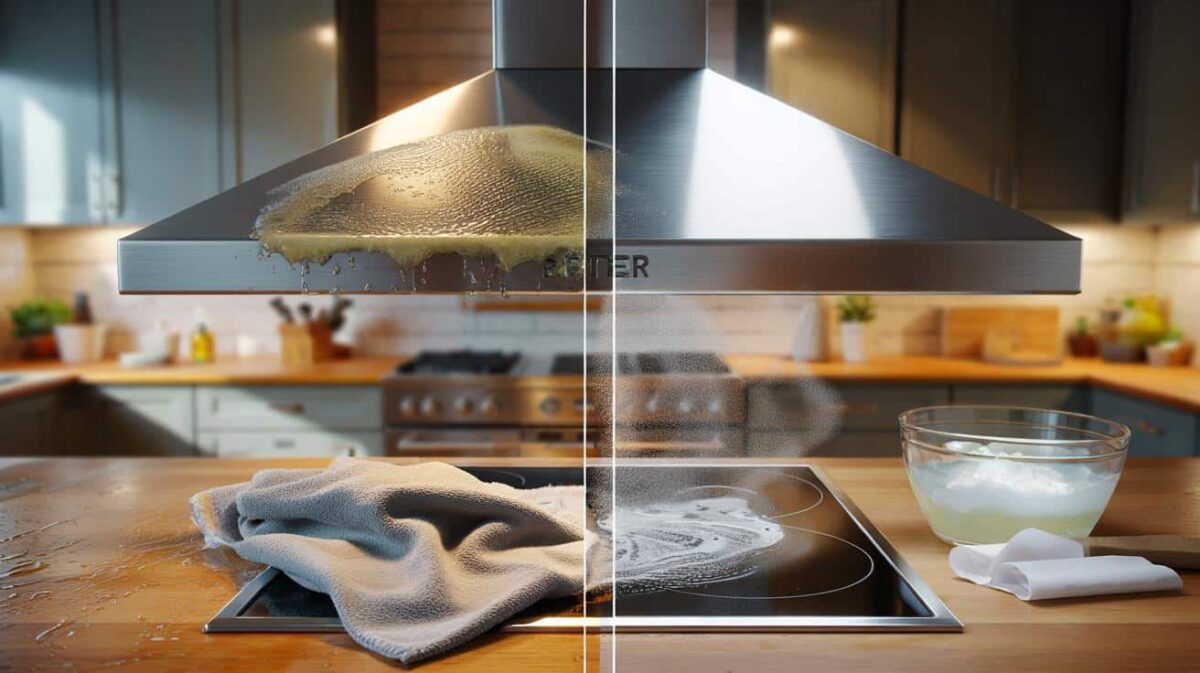
There’s a special kind of shame in serving a beautiful roast on a tray you secretly hope nobody looks at too closely. The top is Instagram-ready: crisp potatoes, bronzed chicken, perfectly blistered tomatoes. Underneath, the metal looks like it’s survived a house fire. Dark, sticky patches that don’t rinse off. Grease rings that seem to have moved in permanently.
You rinse, you scrub, you switch sides of the sponge. The tray stares back, unchanged. You start to wonder if “baking tray patina” is a legitimate style choice.
One London-based food stylist told me she rotates three identical trays for work shoots. Not because she loves buying cookware, but because within a month of daily roasting each one starts to wear the same burnt-brown mask. At home, she admits, she doesn’t even own an oven cleaner spray. “I just stack the worst ones under the good ones and hope nobody digs too deep,” she laughed.
If you open almost any family kitchen cupboard, you’ll find that one tray that’s crossed the line from “used” to “embarrassing”. The one you keep for solo dinners and midnight frozen fries.
Those black, rough patches aren’t just stains. They’re a mix of carbonised food sugars, baked-on fats, and microscopic layers of oil that have polymerised at high heat. Once they’ve gone through enough oven cycles, they behave less like food and more like plastic. That’s why the standard cycle of hot water and dish soap seems powerless. Traditional oven cleaners are brutal for a reason, but they’re also harsh on lungs, skin, and often the tray’s coating too.
Which is why the humble pantry mixture feels almost suspicious the first time you watch it work.
The pantry paste that does the dirty work for you
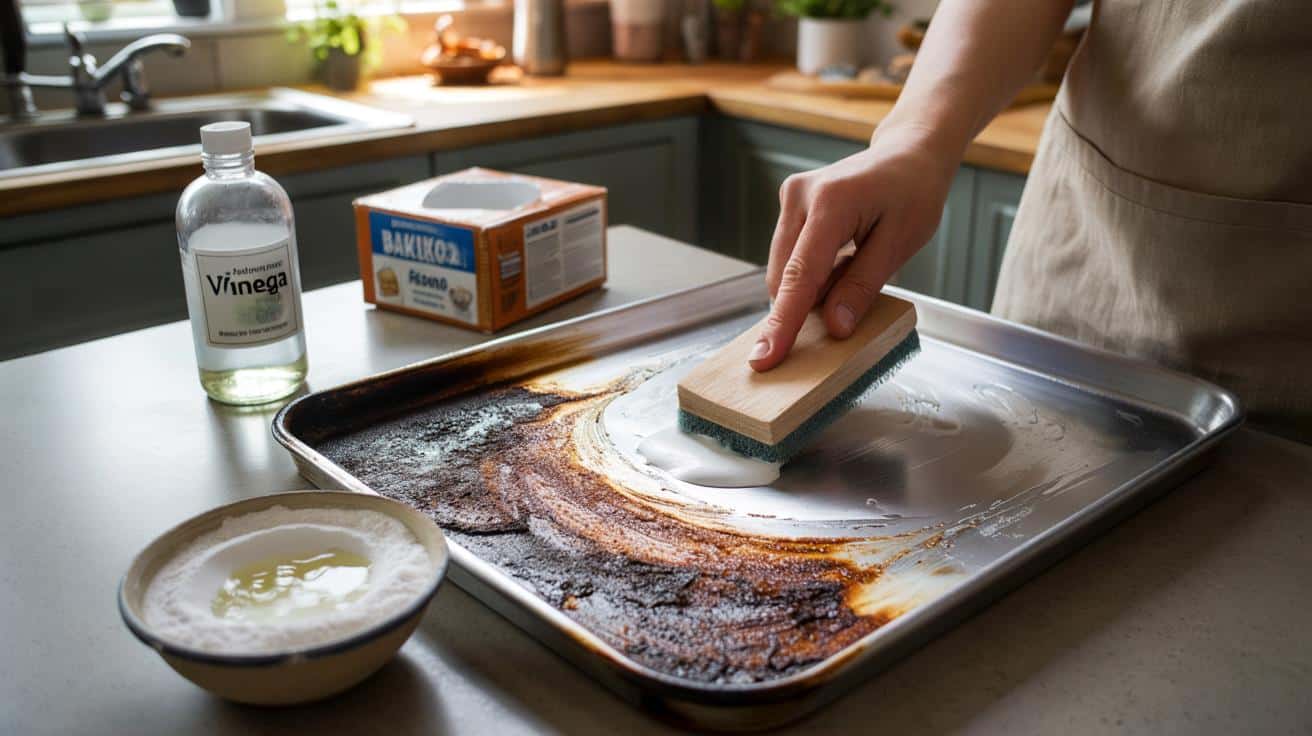
The hero combo is stunningly simple: baking soda and white vinegar. Two ingredients you probably have sitting on a shelf, quietly minding their business. Sprinkle a generous layer of baking soda over the burnt areas of the tray. Don’t be shy; it should look lightly snowed-on. Then drizzle white vinegar over the top until the powder fizzes into a soft, foamy paste.
➡️ The reason raised beds dry out faster and how to fix it long-term
➡️ 7 signals a cat sends when she’s asking for help
➡️ Your morning routine might be quietly sabotaging your brain
➡️ The pantry trick that keeps onions firm and fresh for nearly a month
➡️ The forgotten bathroom liquid that brightens yellowed toilet seats effortlessly
➡️ The mental mechanism behind overthinking conversations after they end
➡️ You should wash it once a week, but nobody does: it’s one of the dirtiest spots in the kitchen
Let it sit at least 30 minutes, longer if the tray looks truly tragic. That fizz isn’t just for show. It’s a tiny chemical storm working into the crust, loosening bonds you’ve been fighting with for months.
A home baker in Manchester described how this trick literally saved her Christmas trays. Two days of roasting – turkey, honey carrots, pigs in blankets – had left her largest tin looking like a burnt oil painting. She didn’t have heavy-duty cleaner, only the basics. Out of desperation, she poured on baking soda, added vinegar and walked away to deal with the mountain of dishes.
When she came back an hour later, the mixture had dried to a chalky crust around the edges. She ran a cheap plastic scraper across the surface, and huge sheets of brown gunk lifted like peeling wallpaper. The metal underneath was still scratched and lived-in, but recognisable again. Her word for it was “relief”.
Here’s what’s going on behind the little kitchen drama. Baking soda is mildly abrasive and alkaline, which helps break down acidic burnt-on food and softened grease. Vinegar is acidic, and when it hits the baking soda, they react, creating carbon dioxide bubbles that physically nudge particles away from the surface. The paste clings to nooks and corners that a sponge can’t reach properly.
You’re not dissolving the metal, you’re simply loosening the grip of that stubborn, baked-on layer. So instead of fighting with elbow grease alone, you’re letting chemistry do the heavy lifting. *The real win isn’t perfection – it’s getting “good enough to use proudly” with a fraction of the effort.*
From crusted disaster to “good enough for guests”
Here’s a step-by-step that works on most metal trays. First, knock off any loose bits with a spatula or wooden spoon. No need to go wild, just remove what’s easy. Rinse the tray with hot water so it’s warm, then shake off the excess – a slightly warm surface helps the mixture spread and react.
Cover the worst areas with baking soda, forming a light, even layer. Pour or spray white vinegar on top until everything fizzes and turns into a thick paste. Leave it to sit while you do something else. Think of it as a soaking session without the sink full of grey water.
When you come back, take a soft sponge, an old dishcloth, or a non-scratch scrubber and start wiping. Most of the time, the worst patches will smear and lift with surprisingly little pressure. For corners and deeply stained areas, a plastic scraper or an old bank card works well to gently nudge the softened crust away.
If the tray is non-stick or enamelled, go slowly. No steel wool, no knives near the surface. Let’s be honest: nobody really does this every single day. This is the kind of deep clean you do when you suddenly notice how bad it’s got, or when guests are coming and there’s nowhere left to hide that tray.
There are a few traps that cause frustration. Pouring on loads of vinegar and almost no baking soda just gives you a thin, drippy liquid that slides off without doing much. Skipping the resting time and scrubbing straight away misses the whole point of the reaction. And using this method on delicate aluminium or decorative trays can cause dulling over time, which is why it pays to test a small corner first.
One home economist I spoke to put it simply:
“People expect miracles in five minutes. Give the mixture time, and it will do what your hands can’t. Rushing this is like pulling a cake out of the oven halfway and complaining it’s not baked.”
After you’ve seen the paste work, it helps to keep a short mental checklist:
- Sprinkle enough baking soda to cover the stain, not just dust it.
- Add vinegar slowly until you get a paste, not a puddle.
- Walk away for 30–60 minutes – longer for very old stains.
- Use a gentle scraper, not something that will gouge the metal.
- Finish with hot water, a normal wash, and a thorough dry.
A small ritual that quietly changes your kitchen
There’s something oddly satisfying about rescuing an object you were close to giving up on. A baking tray is cheap to replace in theory, yet the one you’ve used for years holds your kitchen stories: first attempts at sourdough, burnt birthday brownies, rushed weekday dinners eaten standing up by the sink. Bringing it back from a blackened state feels like pressing reset on a part of daily life.
The pantry mixture won’t restore factory shine or erase every single scar. It will, though, close the gap between “too disgusting to show anyone” and “yes, that can go on the table”. It turns cleaning from a fight into a small, almost meditative ritual you repeat every few months. You start to see that you don’t need a cupboard full of aggressive products to live in a cleaner space. One jar of baking soda, one bottle of vinegar, a little pause in the day – and the objects you thought were ruined prove they still have a few good years left in them.
| Key point | Detail | Value for the reader |
|---|---|---|
| Pantry mixture | Combine baking soda and white vinegar into a fizzing paste on the tray | Uses cheap, everyday ingredients instead of harsh chemicals |
| Let chemistry work | Leave the paste on for 30–60 minutes before scrubbing | Reduces physical effort and protects hands and tray surface |
| Gentle tools | Use soft sponges and plastic scrapers, avoid metal scourers on coatings | Extends the life of your bakeware while still lifting burnt-on grime |
FAQ:
- Question 1Can I use this baking soda and vinegar method on non-stick trays?Yes, as long as you use a soft sponge or cloth and avoid harsh scrubbing tools. The mixture is mild, but scraping with metal can damage the coating.
- Question 2How often should I deep-clean my baking trays like this?Every few weeks if you roast regularly is enough for most people. You can also wait until you notice a stubborn build-up that regular washing doesn’t shift.
- Question 3What if the stains don’t come off after one round?Rinse, repeat the paste, and leave it on longer. Very old, baked-on layers sometimes need two or three cycles to loosen properly.
- Question 4Can I substitute another acid for white vinegar?You can use lemon juice, but it’s usually more expensive and slightly less punchy for this job. Ordinary white vinegar is cheap, strong, and does the job well.
- Question 5Will this method damage stainless steel trays?No, used as described, it’s gentle on stainless steel. Just avoid leaving any acidic liquid sitting for many hours, and dry the tray well afterwards.